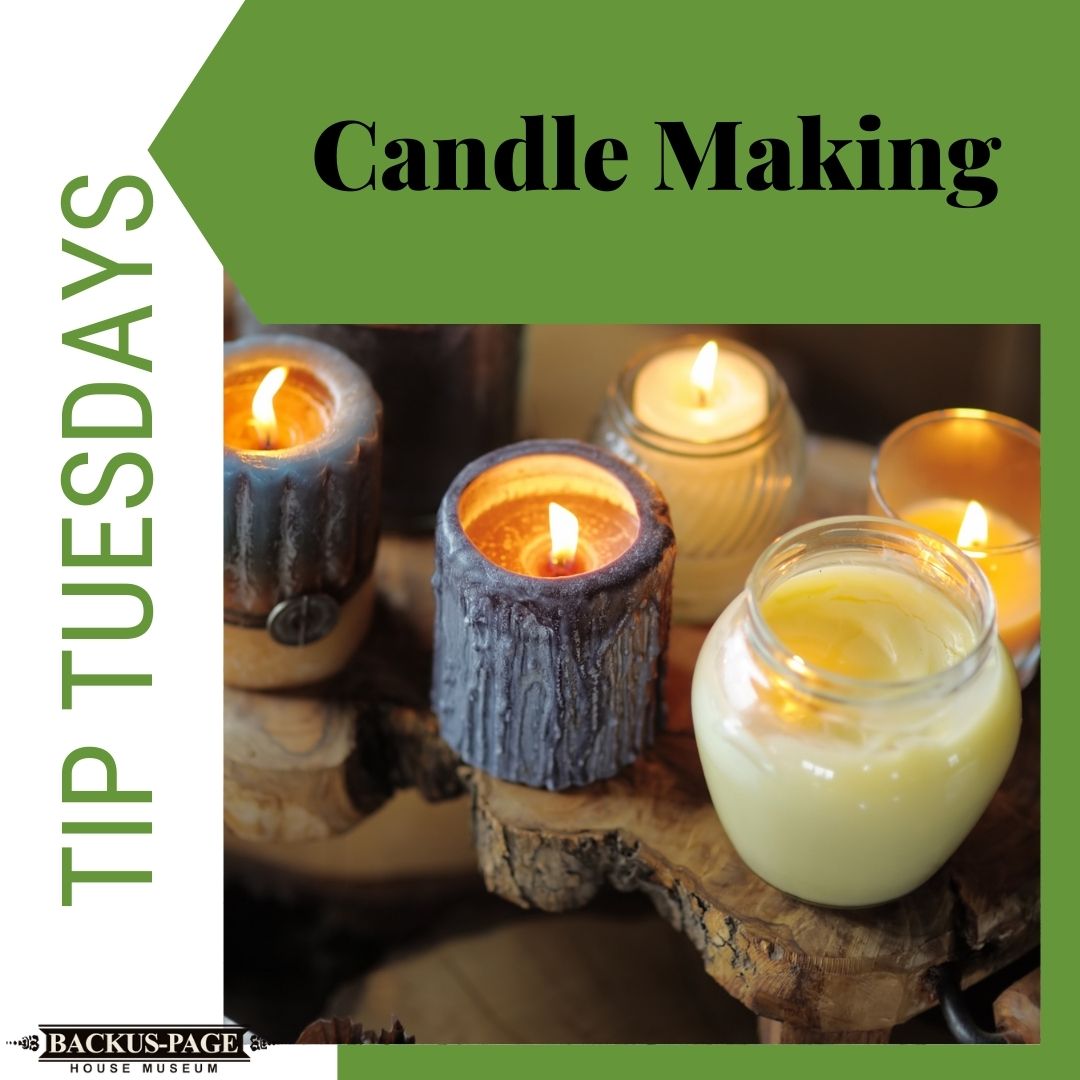
Does anyone else love candles? They smell so good and are beautiful to add to any room. Before you could go out and buy candles people would make them at home. For todays tip Tuesday I’m going to be sharing an easy way to make candles at home and some history on how they use to do it.
To make your candles you’ll need wax, candle wicks, essential oils (if you want to be more modern), spatula, a container, a pot, and pencils.
Step 1: Measure your wax. To do this fill your container with wax and then double that.
Step 2: Put your measured out wax into a pot and melt it on low heat.
Step 3: If you want to be a bit more modern than you can add essential oil to your wax once it is melted
Step 4: Now it’s time to put your wick in the container. To do this dip the end of the wick into the melted wax and then stick that end to the bottom of your container and hold it there for five minutes.
Step 5: Poor your melted wax around your wick into the container.
Step 6: To keep the to of your wick from going down into the wax take your pencils and place them on either said of the wick on top of the container. Leave it like this for four hours.
Step 7: Finally cut the wick to your preferred size.
In the 1800s those who could afford it would make their candles using beeswax as it provided a good scent. However beeswax was very expensive and most could not afford to use it. Most people used the wax of bayberry plants. These also had a great smell but cost way less. The only down fall was it took more work to produce less candles when using bayberry.
We hope everyone enjoys their homemade candles and don’t forget to share your pictures of them and tag us @backuspagehouse
Sources
https://ourpastimes.com/how-were-candles-made-in-the-1800s-12148427.html
https://www.proflowers.com/blog/how-to-make-candles/
